Momscode-AMSECC Project Retention Customization
Project Retention is Customized in the Moms_ProAdjust App.
Project Retention prerequisites
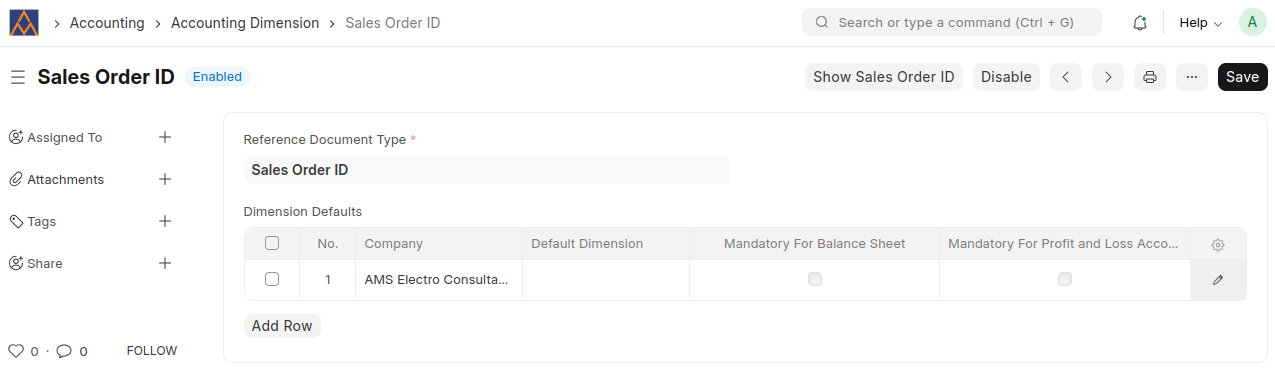
Accounting Dimension
- Create an Accounting Dimension for the Sales Order ID document
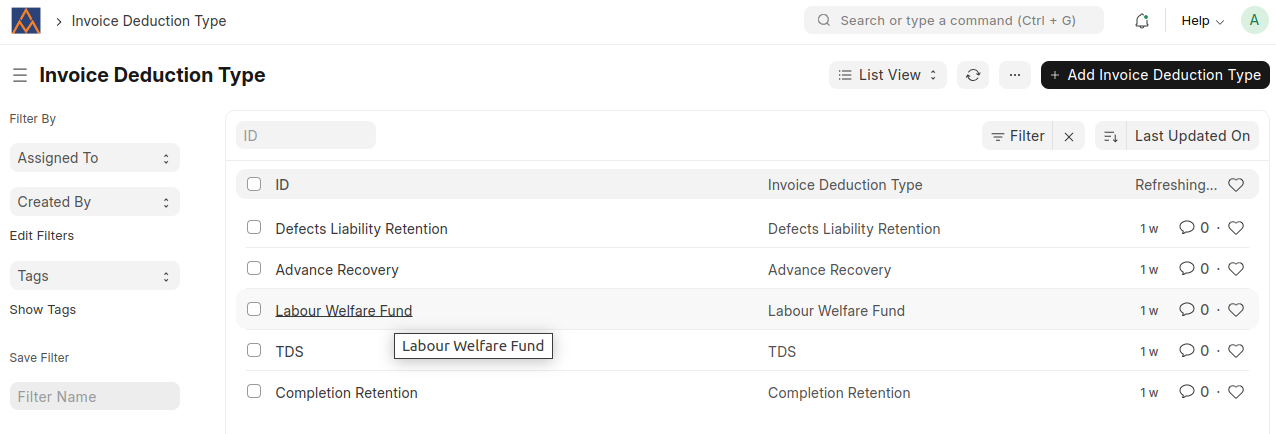
Invoice Deduction Type
- Create Invoice Deduction Types.
Project Retention Process
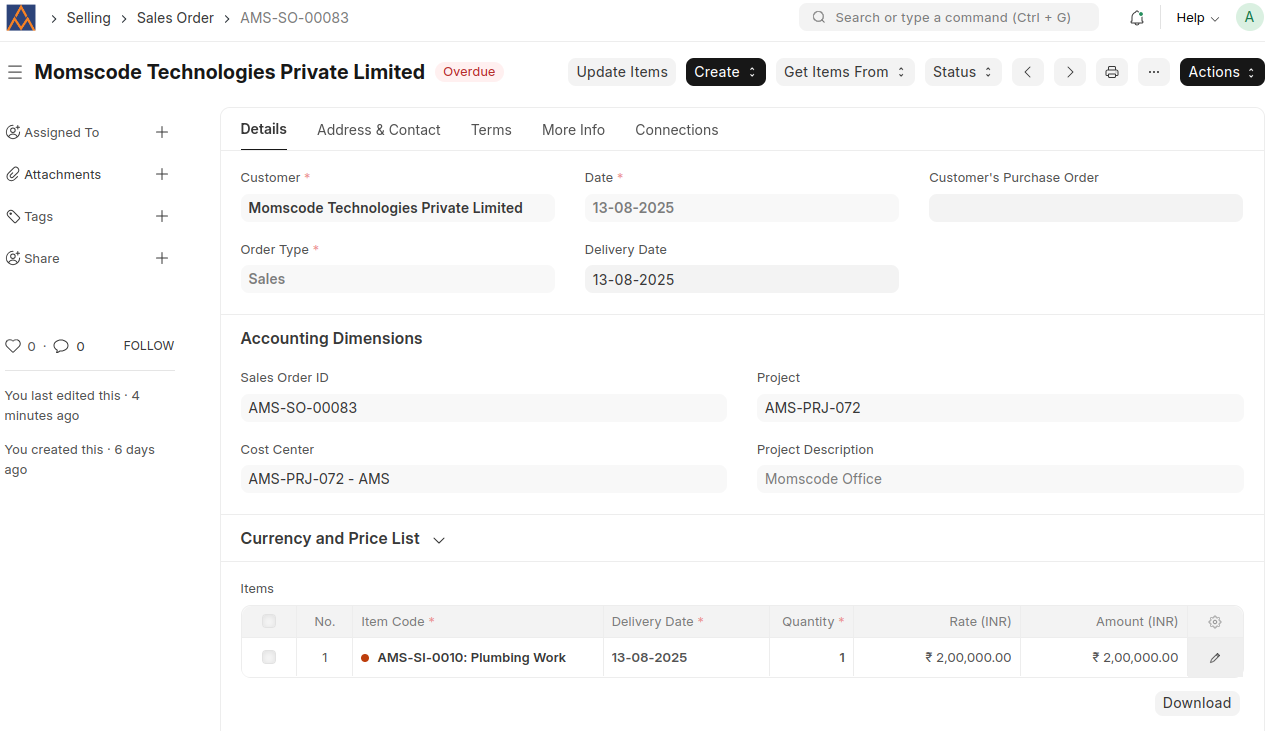
Sales Order
- Fill in all required details in the Sales Order, including Project and Cost Center.
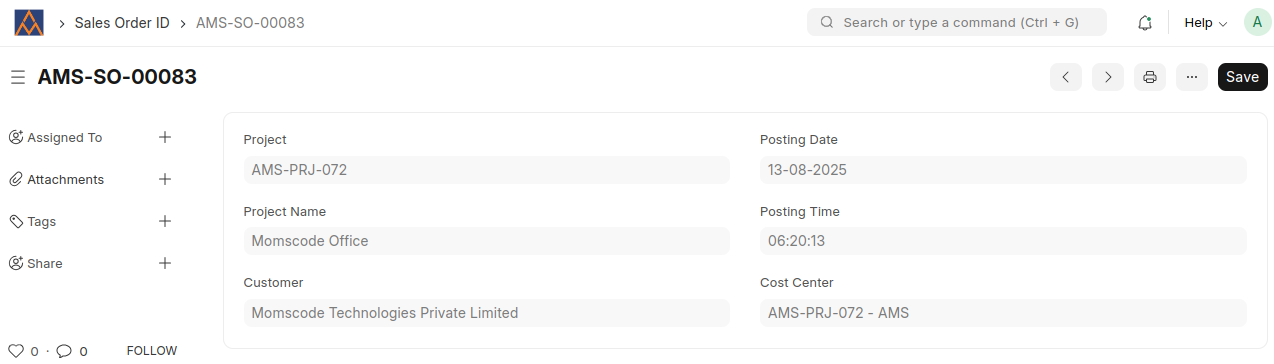
- After saving the Sales Order, a corresponding Sales Order ID document is automatically created with the same name as the Sales Order.
- In the Accounting Dimensions section, you must select the generated Sales Order ID.
- The Sales Order cannot be submitted without selecting the Sales Order ID. It is a mandatory field.
- When items are added to the Items table, the system automatically fills in the Project, Cost Center, and Sales Order ID for each item.
- Each Sales Order has a unique Sales Order ID. If the Sales Order is updated, the corresponding Sales Order ID document is also automatically updated to reflect those changes.
- The created Sales Order ID document is automatically added under the Connections section of the related Sales Order.
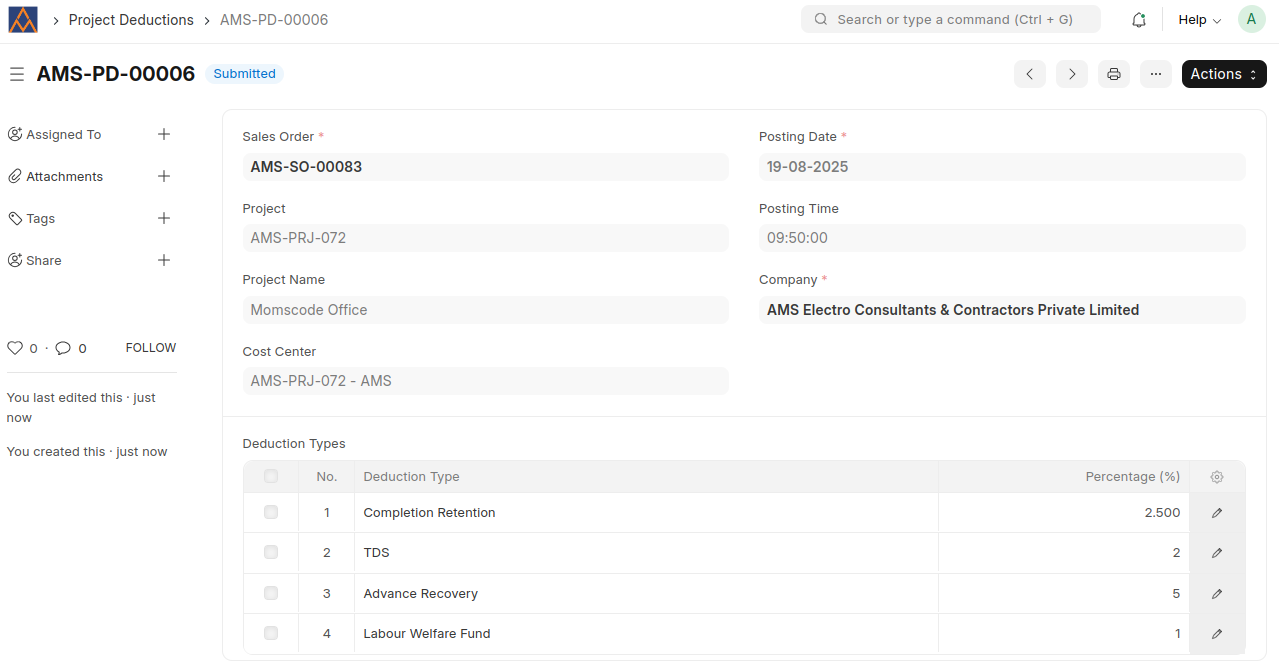
Project Deductions
- A Project Deductions document can be created from a submitted Sales Order using the Create button.
- The system first checks whether a Project Deductions document already exists for the Sales Order.
- If a Project Deductions document already exists for a Sales Order, the system will prevent the creation of another one for the same Sales Order.
- If not, it maps the relevant fields from the Sales Order to create a new Project Deductions document.
- In the Deduction Types table, add the required Deduction Type and Percentage.
- Once the data is entered, the document can be submitted.
- After submission, the Project Deductions document is automatically added under the Connections section of the corresponding Sales Order.
Sales Invoice
- Create Sales Invoice directly from a Sales Order using the Create button.
- Relevant values from the Sales Order, such as customer details, items, taxes, and terms, are automatically mapped to the Sales Invoice.
- All accounting dimensions (e.g., cost center, project, sales order id etc.) from the Sales Order are automatically mapped to the Sales Invoice.
- If any Project Deductions are associated with the Sales Order, they are automatically fetched into the Sales Invoice under the Deductions table.
In the Deductions table, each deduction amount is automatically calculated using the formula:
Deduction Amount = Net Total × (Deduction Type Percentage / 100)

If the Rate or Quantity of any item in the Items table is changed, the system automatically recalculates:
- The corresponding deduction amounts in the Deductions table
- The Total Deductions Amount field
Each deduction type in the Deductions table is linked to a specific Account Head, which is used for proper accounting entries.
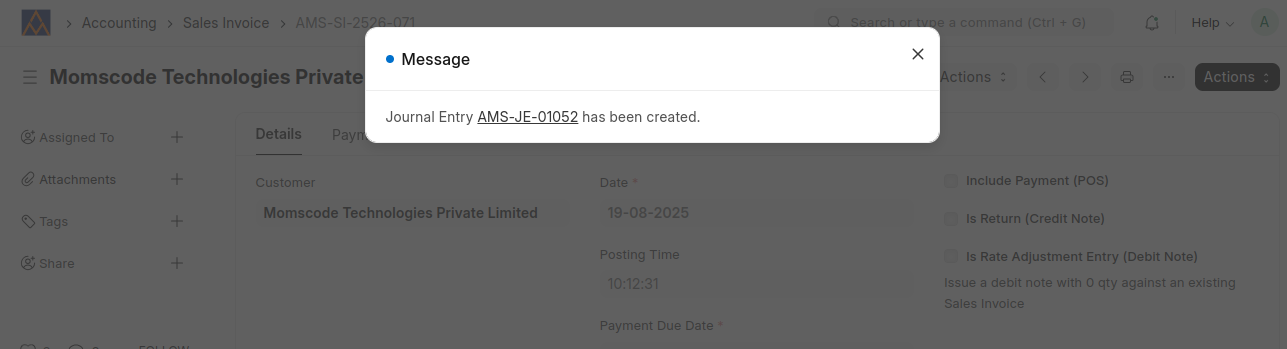
- After verifying all details, the Sales Invoice is submitted.
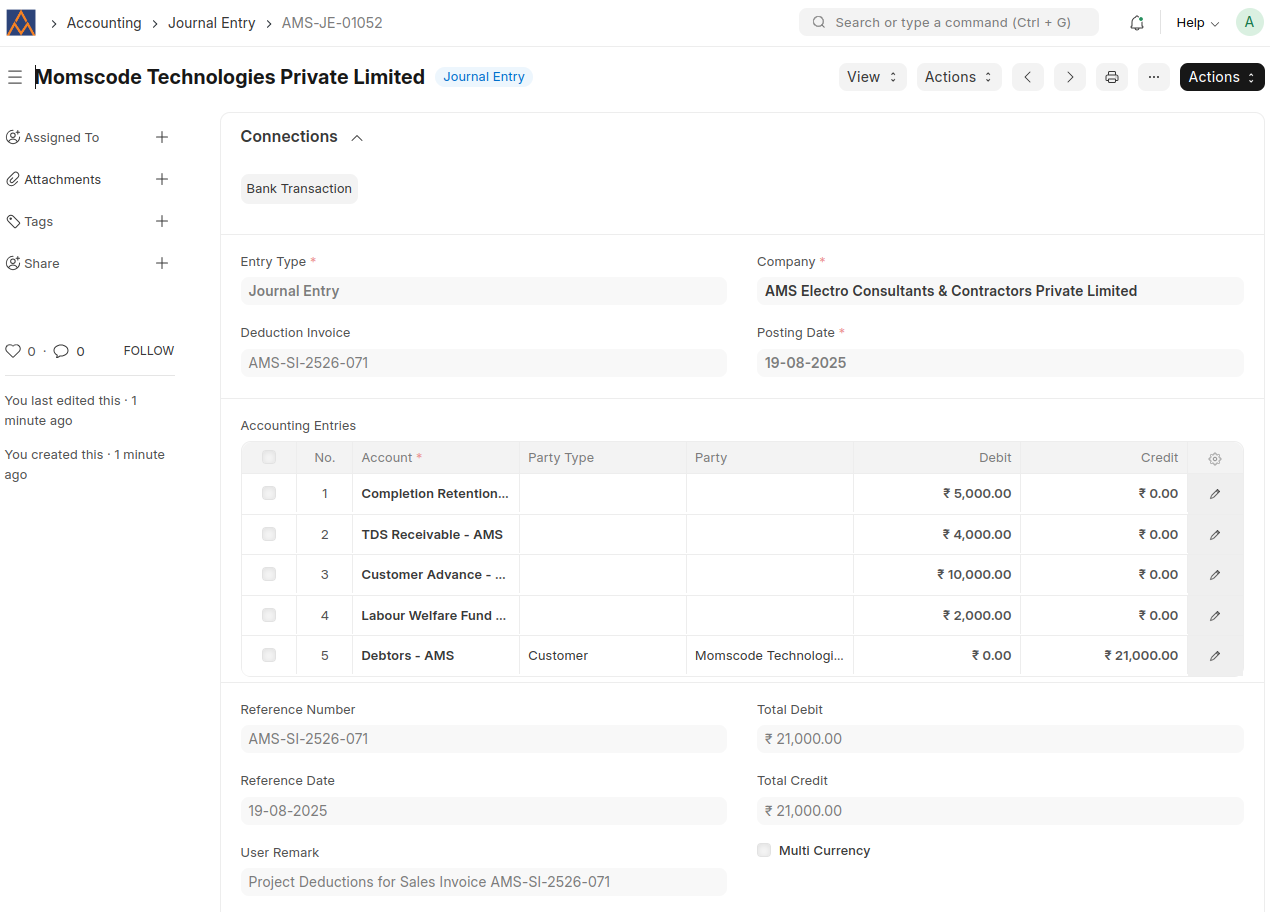
- Upon Sales Invoice submission, a Journal Entry is automatically created to record the project deductions. This ensures accurate accounting of deduction amounts against the appropriate accounts and dimensions.
- The Journal Entry created upon submission of the Sales Invoice fetches all accounting values from the Deductions table. Each deduction entry is mapped into the corresponding Debit and Credit rows of the Journal Entry, based on the specified Account Head and amount.
Advance Payment Customization
Advance Payment is Customized in the Moms_ProAdjust App.
Advance Payment Prerequisites
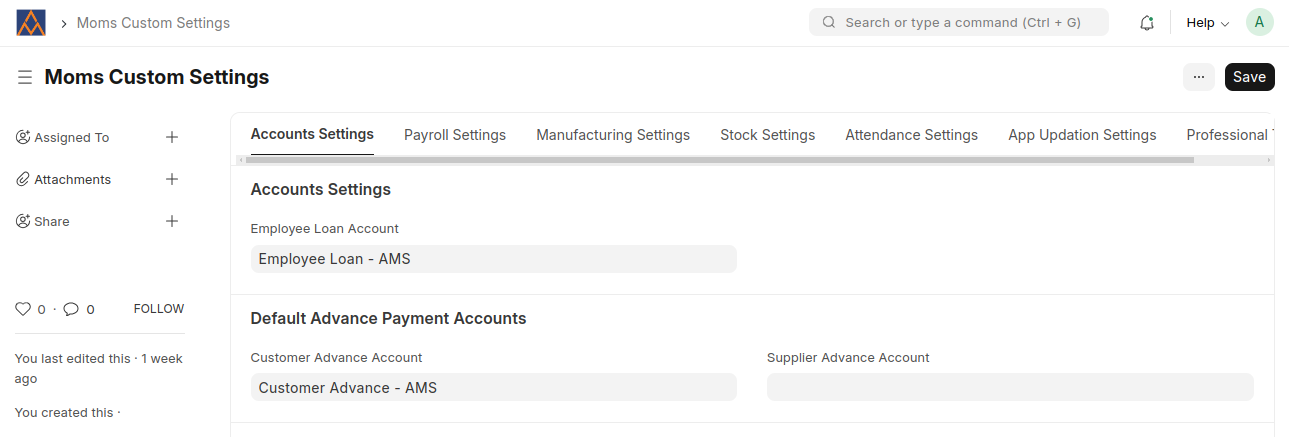
Moms Custom Settings
- Set the default Customer Advance Account for the Advance Payment Accounts in Moms Custom Settings.
Advance Payment Process
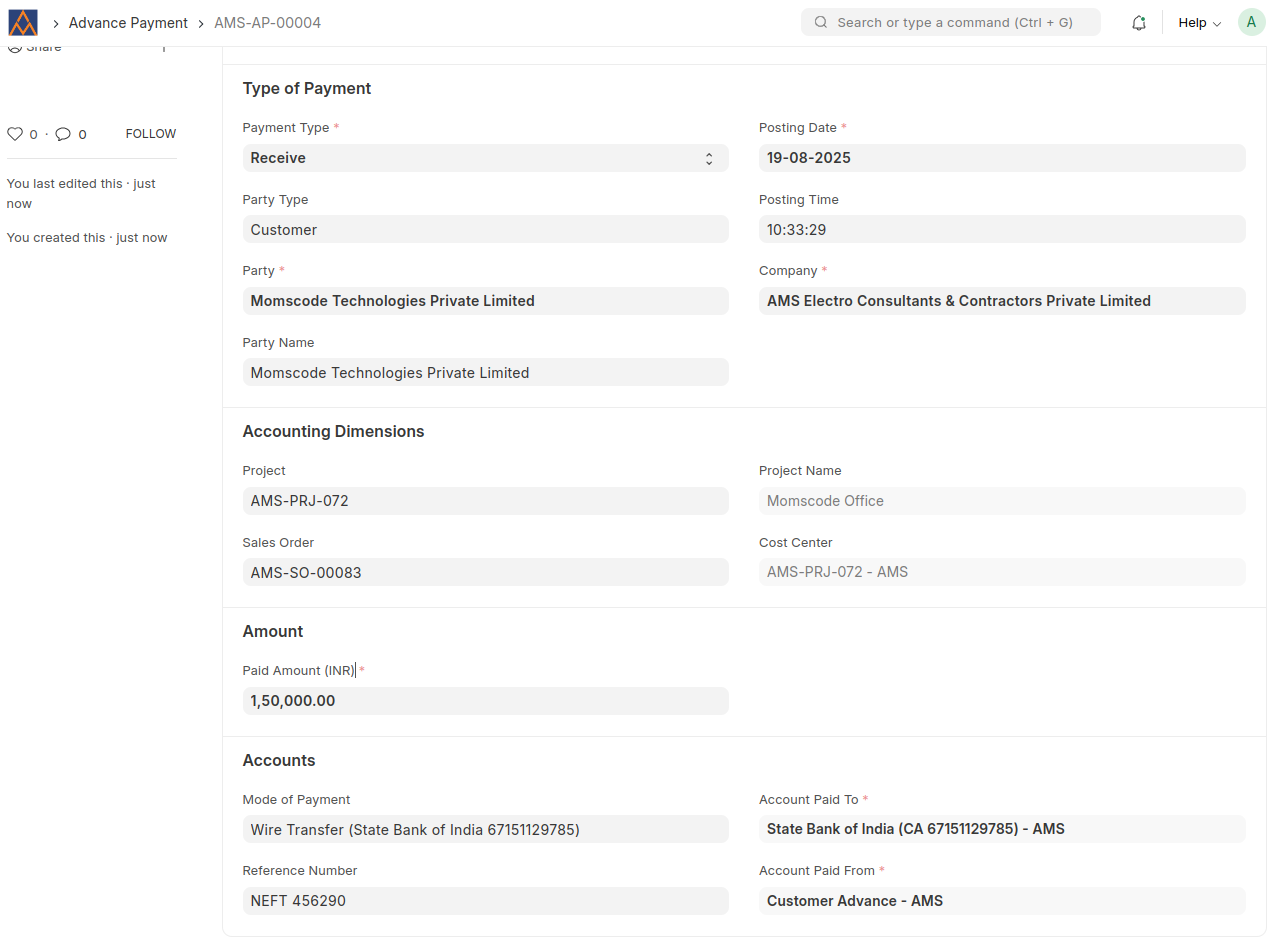
- Create Advance Payment from Submitted Sales Order using the Create button.
- The Advance Payment behaves similarly to a Payment Entry and automatically fetches relevant values such as customer, posting date, company and accounting dimensions from the Sales Order.
- The user selects the Mode of Payment. Upon selecting the Mode of Payment, the system automatically fills the 'Account Paid To' field with the account linked to the selected Mode of Payment.
- A default Customer Advance Account can be set in Moms Custom Settings.
- The system retrieves the default value from Moms Custom Settings and automatically fills the Account Paid From field in the Advance Payment.
- A Reference Number (e.g., transaction ID or bank reference) can be entered for tracking purposes.
- The Paid Amount field is mandatory and must be filled before submission.
- After entering all required details, the Advance Payment document is submitted.
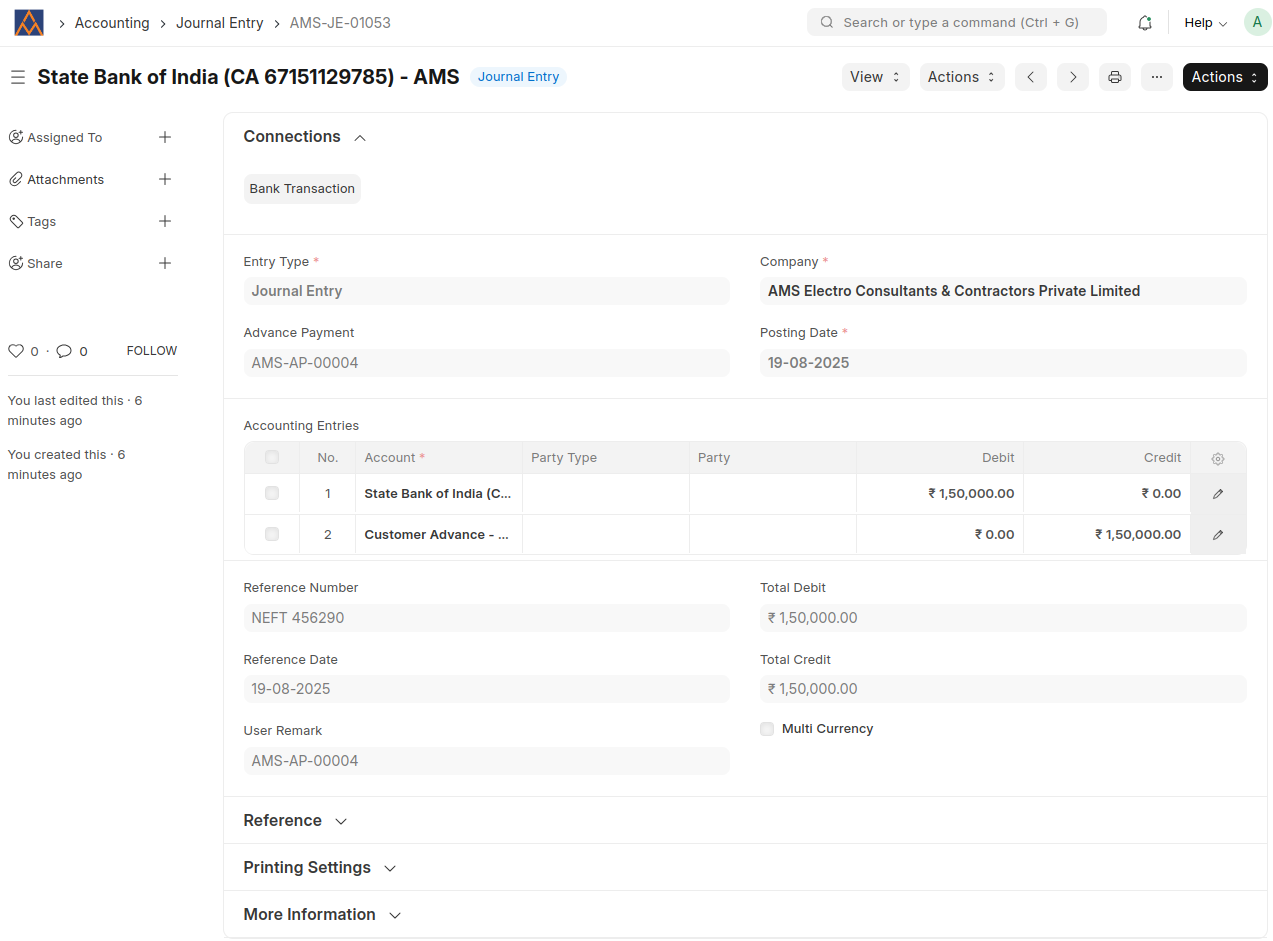
- Upon submission, a Journal Entry is automatically created to record the advance payment.
- After submission, the Journal Entry document is automatically added under the Connections section of the corresponding Advance Payment.

- The created journal entry includes debit and credit entries based on the selected accounts and the paid amount.